Renovating your staircase is a great way to update the entire look and feel of your home. Because the staircase plays a central role in the home’s layout, it can have a dramatic effect.
The Hardwood Lumber Company has been milling custom wood stair parts for decades. We’ve created this How to Build Stairs Guide as straightforward as possible, but even the best instructions cannot change a few of the facts:
-
Building a staircase is not a beginner’s project. If you do not consider yourself experienced in carpentry, we recommend hiring a professional to complete the project.
-
If you do decide to take the do-it-yourself approach, remember building stairs can be dangerous, and should not be taken lightly. If the stairs are installed incorrectly, they may pose serious safety issues.
Please Note: This guide is for educational use only, and Hardwood Lumber Company assumes no risk or liability for any damage done to yourself or your property in conjunction with this guide.
Table of Contents
What to Know Before Building Stairs
Building your own stairs allows you maximum control over every feature and detail of your staircase.
Here’s a quick checklist of things you need to consider before ever turning on a power tool:
-
Building Codes: Building codes can differ depending on location, it is your responsibility to be sure your new staircase design is going to be up to code prior to installation.
-
Tool Safety: This project will involve power tools. It is important to ensure that you have a safe, properly ventilated environment to operate them in.
-
Safety Attire: Safety glasses are a must, and a hard hat would not be a bad idea either.
Tools Needed to Build Stairs
The following list will cover the essential tools needed to build your own stairs. One of the biggest factors to consider is any available help. If you are attempting to complete this project alone it could take up to twenty hours or longer depending on your experience and comfort with the tools needed.
Here is a list of essential equipment:
-
Safety Glasses
-
Broom and dust pan
-
Measuring tape
-
Finish Nails
-
Drill and drill bits
-
Table saw with a sharpened or new blade
-
Good quality miter saw with finish cut blade.
-
Hammer
-
Quality construction adhesive
-
Nail gun and air compressor
-
Wood Putty
-
Crow bar
-
Stair Buttons
-
2 Inch Framing Square
-
Carpet knife (if removing existing carpet).
-
Level
Always be sure to understand how to safely operate power tools before using them.
Need to Know Stair Building Terms
Part of learning to do anything is learning the specific words, language, or lingo around the topic and stairs are no different. There are a few unusual words that you may not be familiar with if you have never done any stair construction or remodeling before.
Here’s a list of the most common stair building terminology:
Stair Stringers
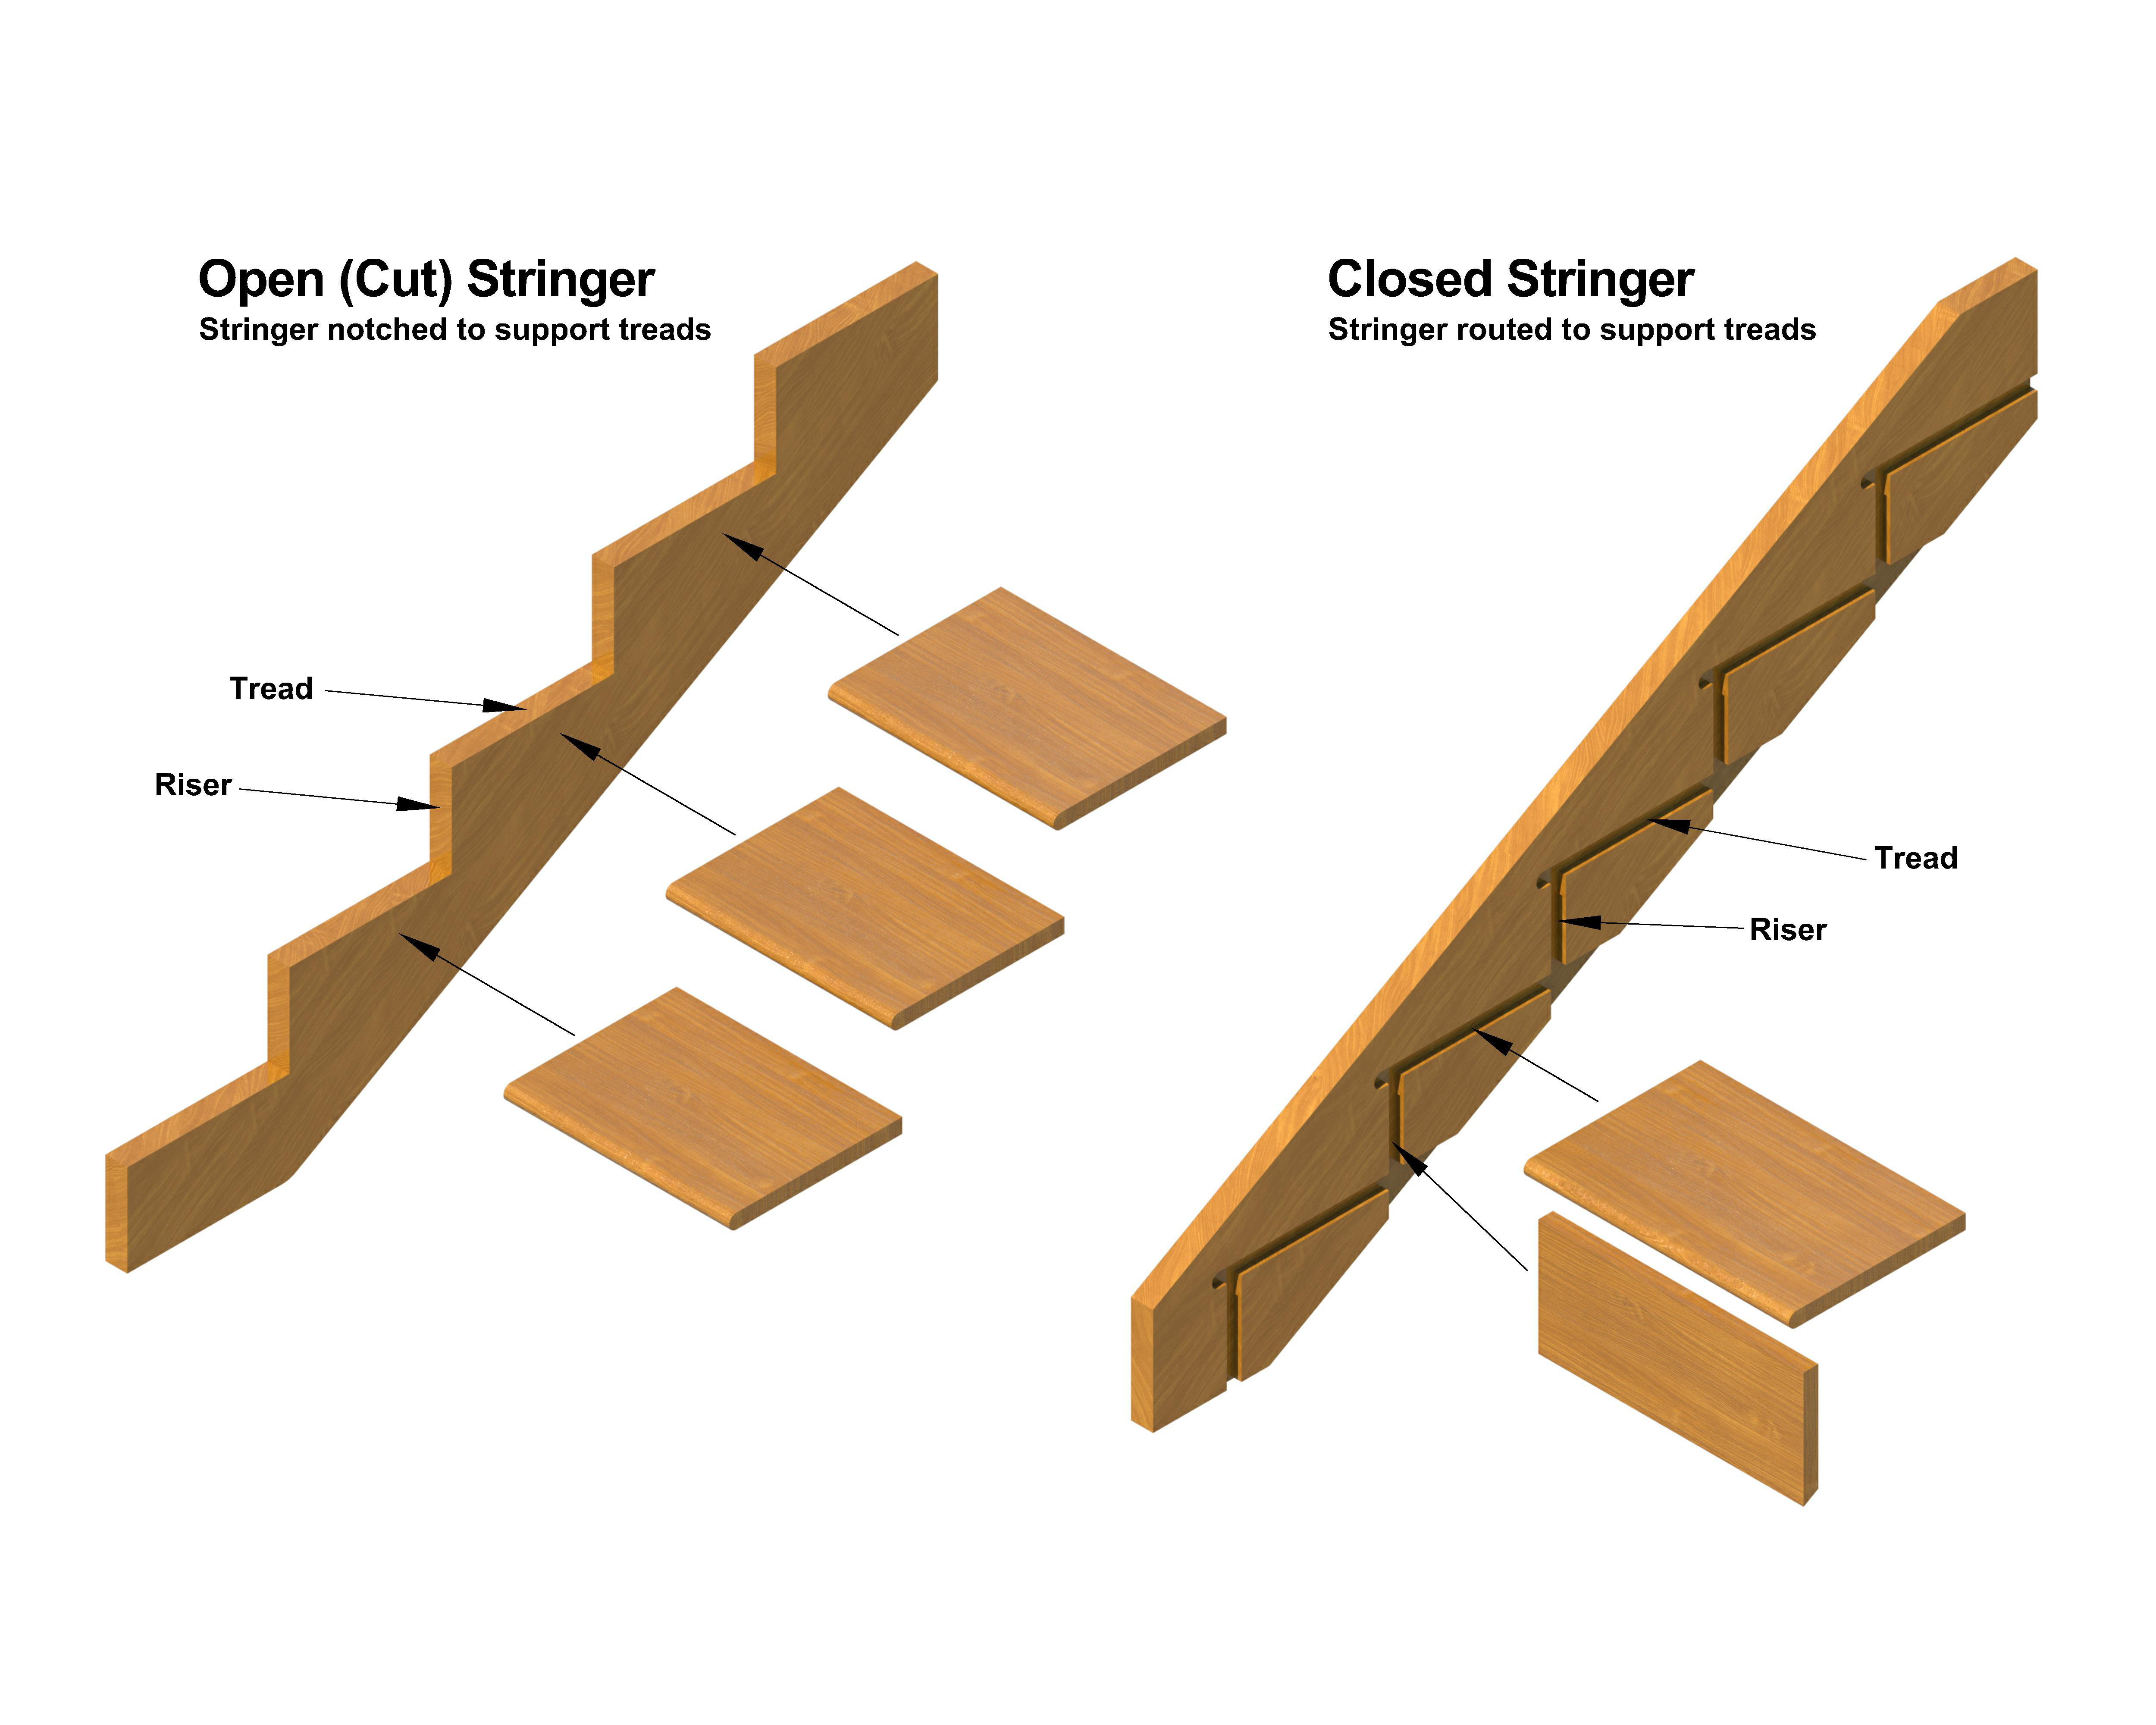
Stringers are the two or sometimes three support boards that run underneath a set of stairs and are typically invisible in most homes. The treads and risers are fixed to the stringers to ensure consistent distancing between stairs.

Standard Stair Treads
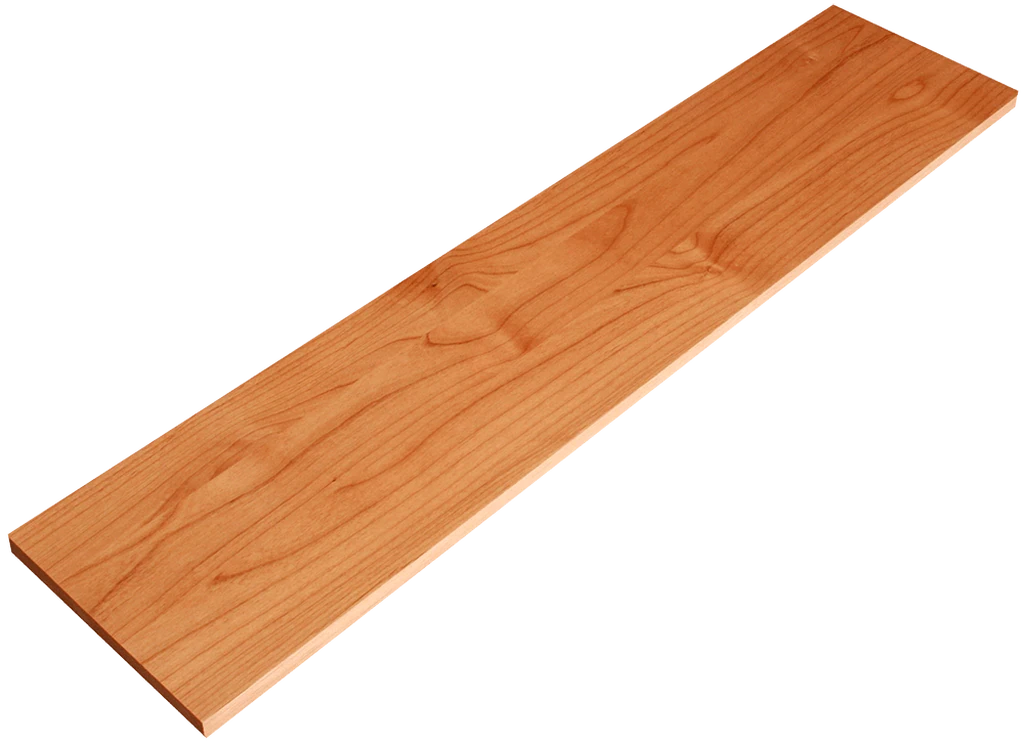
Commonly referred to as “steps”, treads are the stepped-on part of your staircase structure. Standard treads are well suited for a staircase that is enclosed by walls on both sides.

Stair Risers
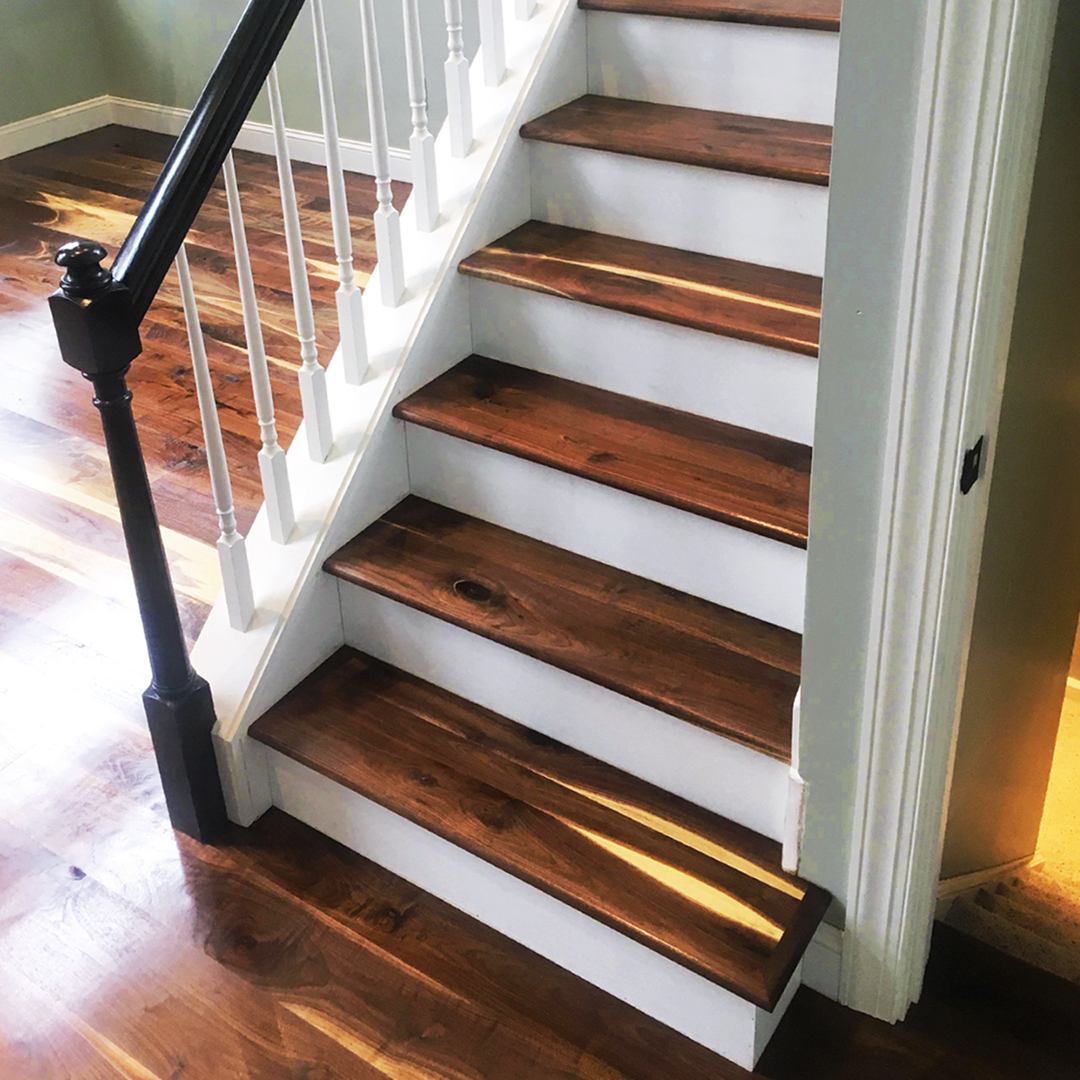
Risers are the boards that form the vertical face of each step, building the area between the stair treads that you can kick with your toes. Often unfinished basements will have stairs without risers at all, or what’s called open risers. In the image below, the stair risers are painted white to complement the cherry wood treads.

Types of Staircase Moldings
Staircase moldings are an extra flourish that can really help you achieve the style and finished look you were dreaming of for your staircase. The possibilities are only limited by your imagination, but the following are the three of the most popular staircase molding styles:
-
Quarter Round Molding: A transitional molding that goes along the bottom stair riser on a staircase to the current flooring.
-
Base Shoe Molding: A more narrow transitional molding that also goes along the bottom stair riser on a staircase to the current flooring to cover up anything between the tread and riser.
-
Cove Molding: A molding that is installed underneath the bullnose to add decorative transitions between the treads and risers.
Now that we have covered the need to know terminology for how to build a stairs, step one is accurate measurements. For all of your staircase molding needs, visit our sister company, Mouldings One.
How to Measure Staircase Slope
Once you have your materials and tools collected, you’re ready to start calculating the slope of your staircase.
-
Use a tape measure to measure the riser height (distance from the floor to the top of your staircase).
- Make sure to calculate in thickness by accounting for anything like carpet, padding, and subflooring.
-
Divide your total height from finished floor to finished floor by the number of risers you intend to use. This number represents the height of each riser.
-
Set stair buttons on your square with the rise and run of the stairs (risers usually 7” to 8”) and the other being (9” to 10”).
-
Mark your stringers where the risers and treads will go.
- Remember to account for the thickness of your tread from the bottom of your stringer, and add the same to the top.
- For open staircases make sure to cut the stringers in between the riser and tread on each step. This is what creates the “open” look.
-
Fasten (glue blocks) triangular pieces of wood to the stringer where your risers and treads will be attached. Always use a good quality wood adhesive where two pieces of wood meet, and leave glue excess to cure before scraping it off with a sharp chisel.
How to Install Stair Risers and Treads
With your stringers cut and secured, you can begin installing your treads and risers. You always install the first two risers first, and then the treads are installed on top of the first riser, and against the second riser. Remember, your project needs to adhere to any local building codes.
-
Use a circular saw to cut your risers to fit your stringers.
-
Make sure to account for the thickness of your treads when making your cuts.
-
Use wood screws to attach your first two risers to the stringers.
-
Pre-drill all nail holes or use a nail gun.
-
Use finishing nails to nail each riser to the stringer.
-
Use a circular saw to cut the treads to the length of each riser.
-
Use wood screws to attach treads to the stringers.
-
Use a level tool to level the tread from front to back.
-
Pre-drill all nail holes (or use a nail gun).
-
Use finish nails to nail each tread or riser
-
After completing your first two risers, and tread, you can cautiously test that first step.
-
Repeat the process, slowly building up each stair step, two risers and one tread at a time. Continue repeating this process until you reach the top of the staircase.
With your stairs now fully constructed you are ready to attach a handrail to your wall. Good news: After constructing your staircase, this will prove to be a much quicker and easier task.
How to Attach a Handrail to the Wall
Typically one of the final pieces of a staircase project, attaching a handrail is a simple three step process.
-
Make sure there’s at least an inch and a half of space between the rail and the wall.
-
Anchor handrail brackets into studs through the drywall.
-
Connect the rail to the wall-mounted handrail brackets.
Like your steps, test the handrail cautiously at first to make sure everything is secure and safely constructed.
Congratulations on building your new staircase!


